Introducing how to join Revolut using Verif Tools
The content of this article is based on a 100% true story of my success.
Click on the link to access the site.
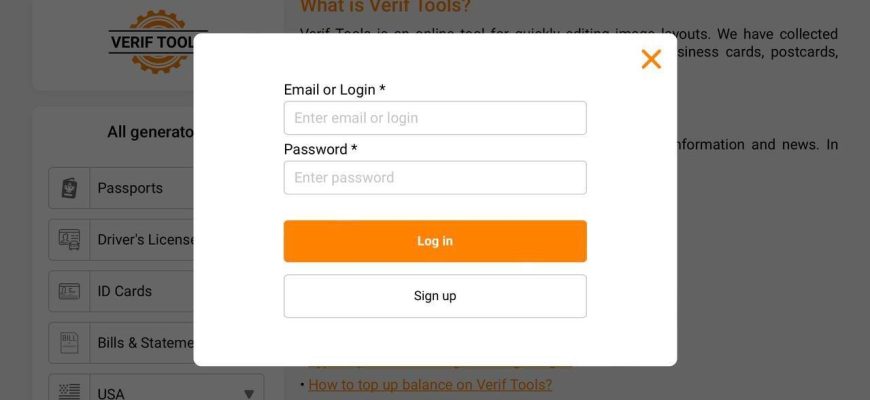
If you go to the homepage, it comes out like a picture.

Proceed with ‘Sign up’ by entering the ‘Email’ and ‘Password’ you want to use.
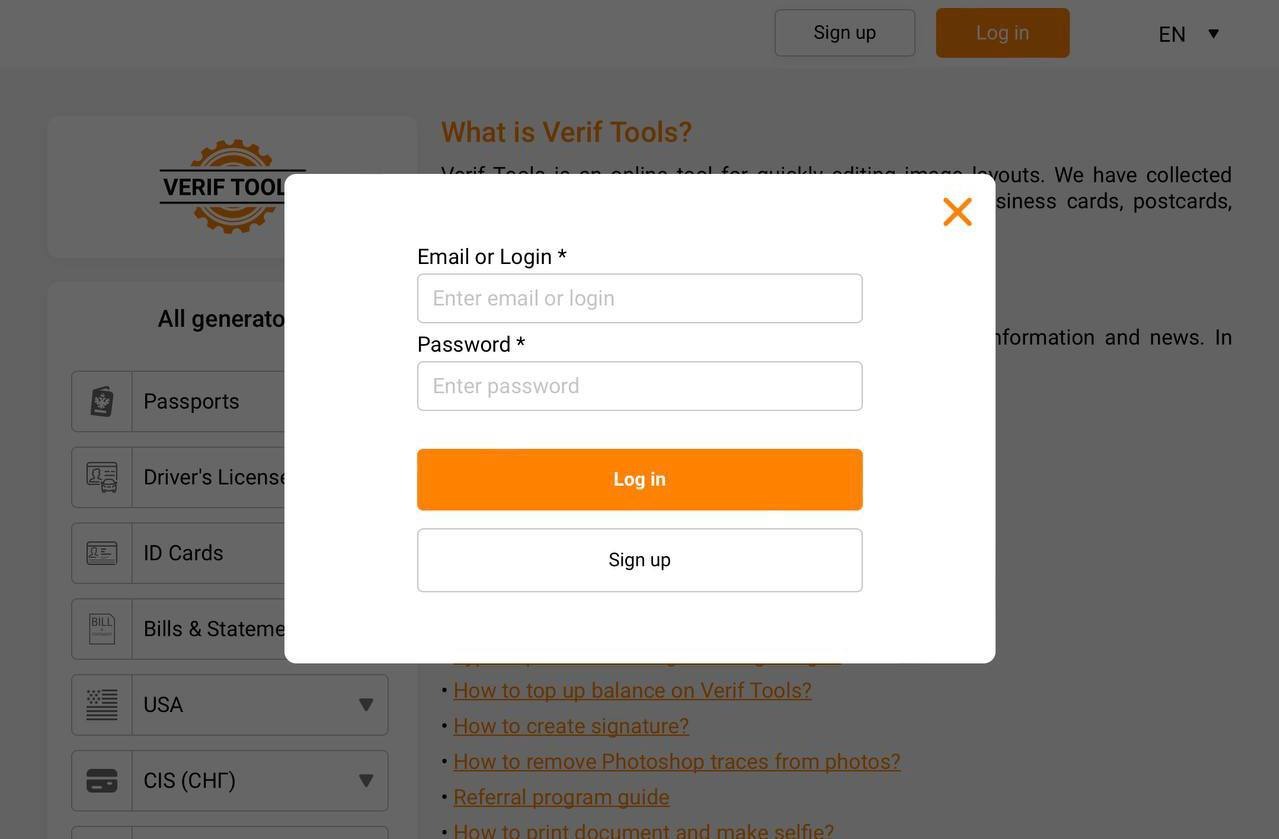
Proceed with ‘Log in’ by entering the ‘Email’ and ‘Password’ entered when ‘Sign up’ was performed.

After proceeding with ‘Login’, click on your email at the top, the screen as shown in the picture is displayed. Click ‘Top up’ here to recharge the desired balance with the desired charging method.
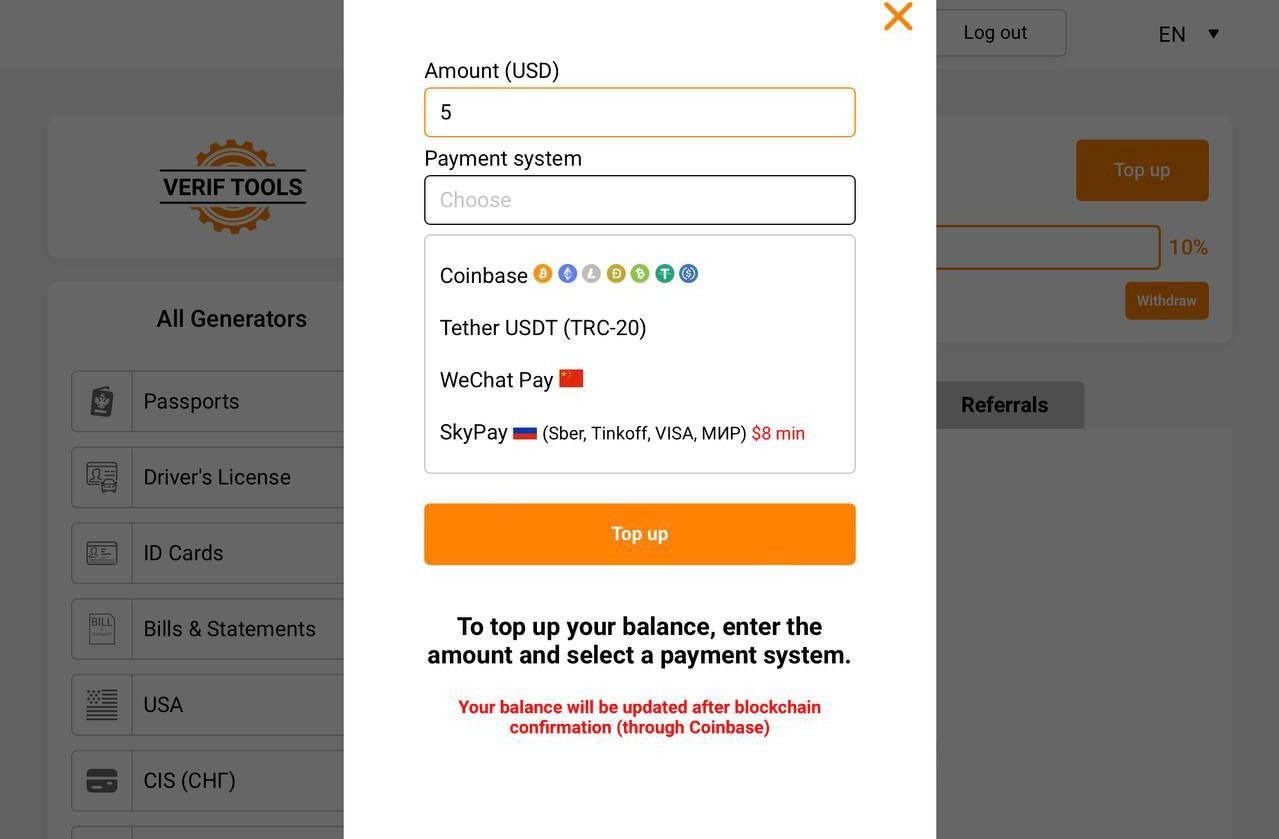
*For reference, the price of a passport is $8.99, so consider the amount and ‘Top up’ the appropriate amount.
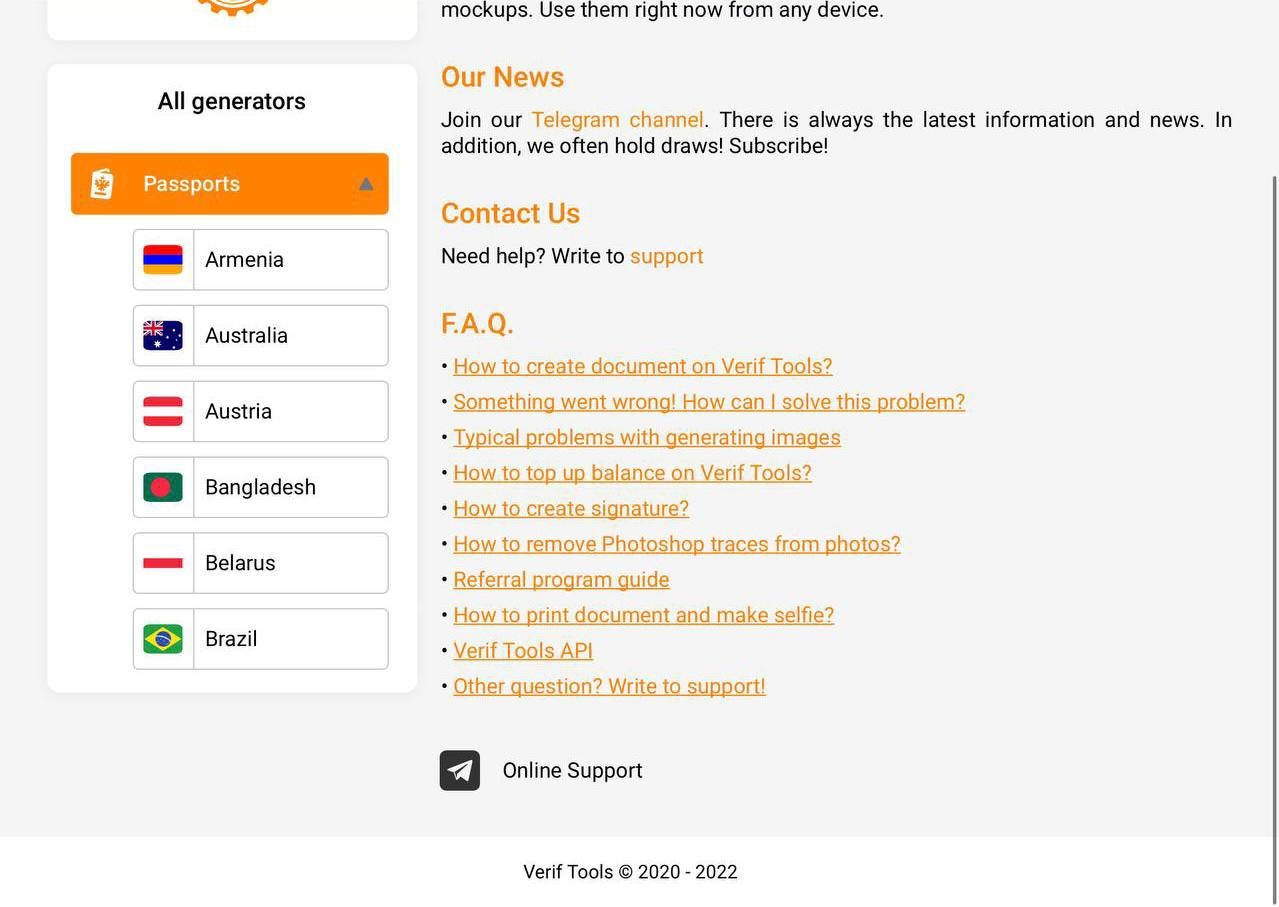
Select ‘Passports’ from ‘All generators’ as shown in the picture.
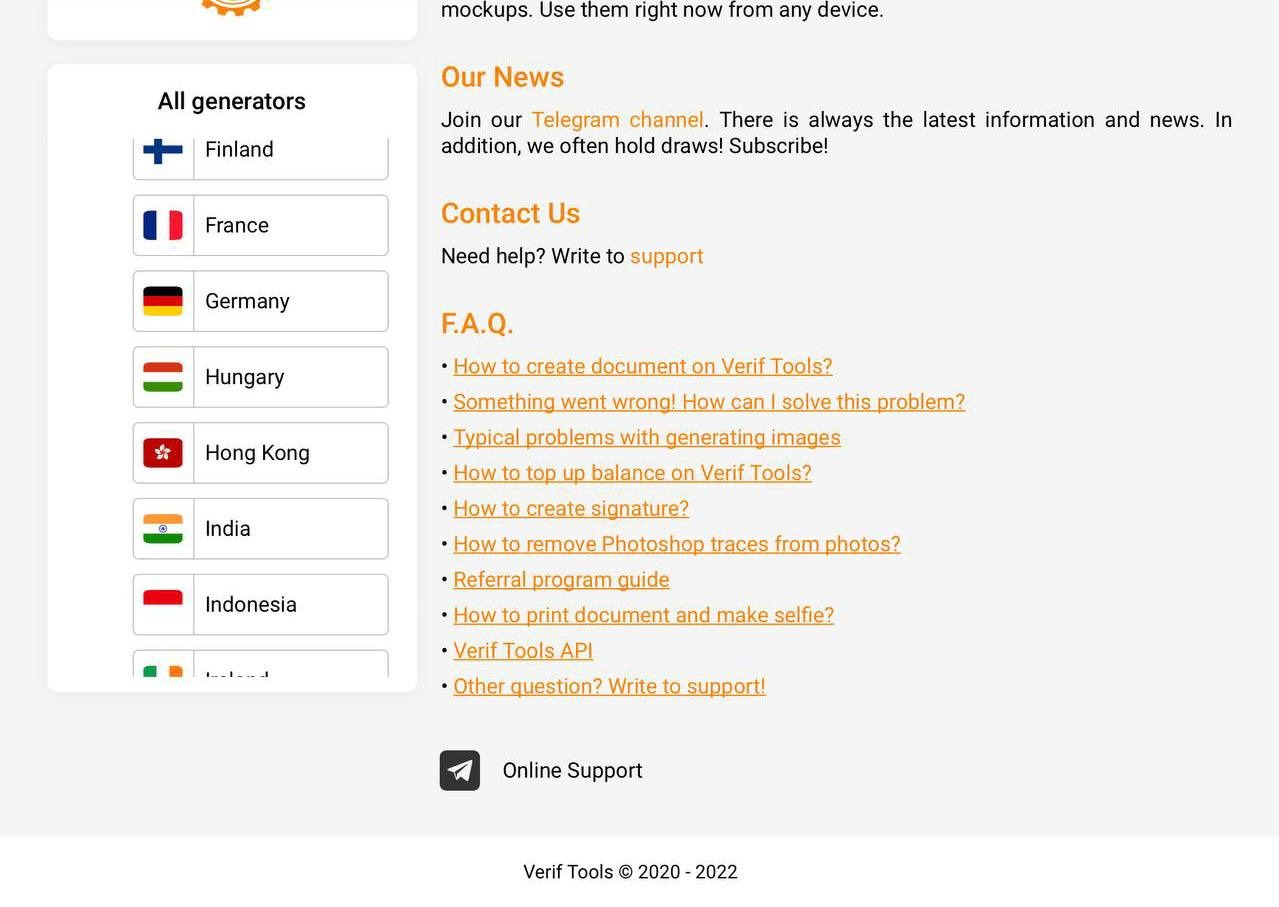
As shown in the picture, if you select ‘Passports’ from ‘All generators’, numerous countries will be listed. Before producing ‘Passports’, ‘Passports’ are produced by referring to the countries where ‘Revolut’ subscription is available.
(I selected the country ‘France’ to create ‘Passports’, and ‘Revolut’ supports most ‘EEA’ countries.)
The process of making ‘Passports’ will be explained using ‘France’ as an example.
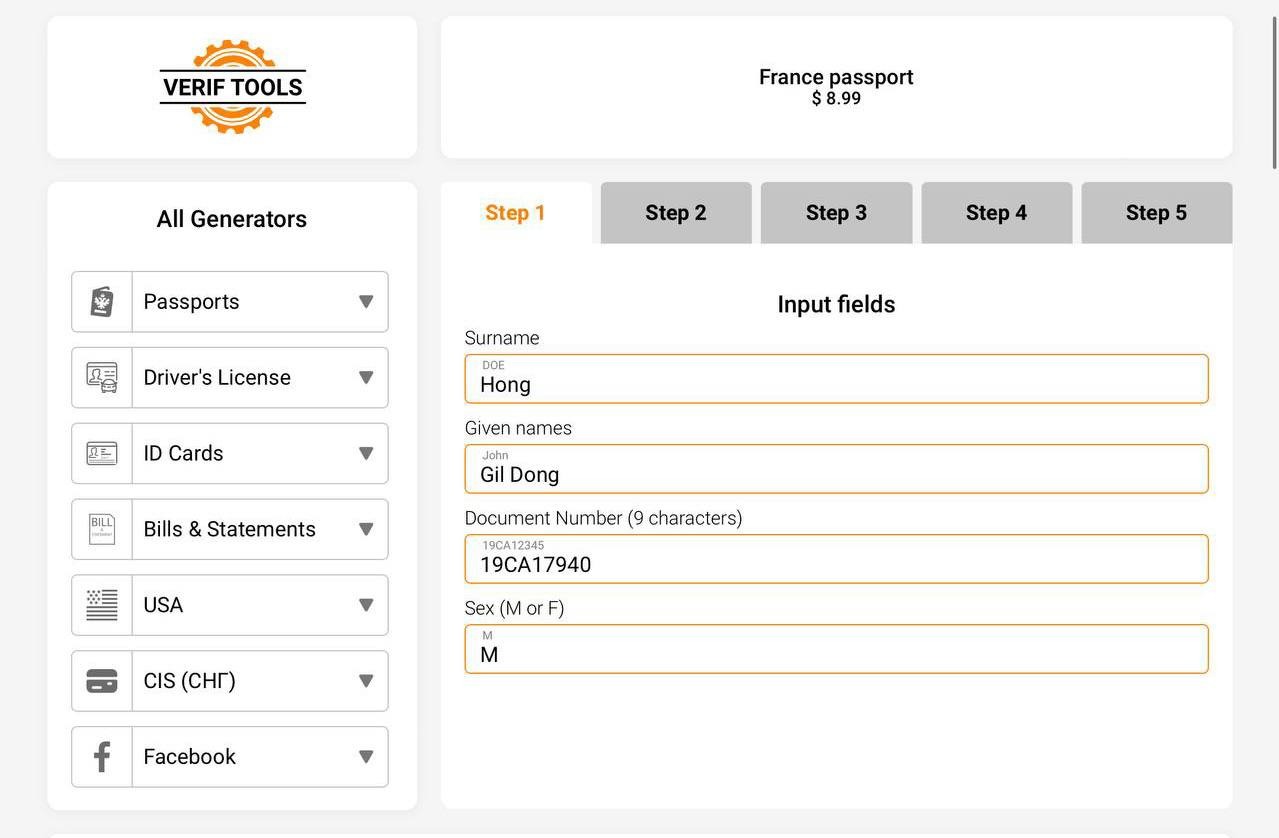
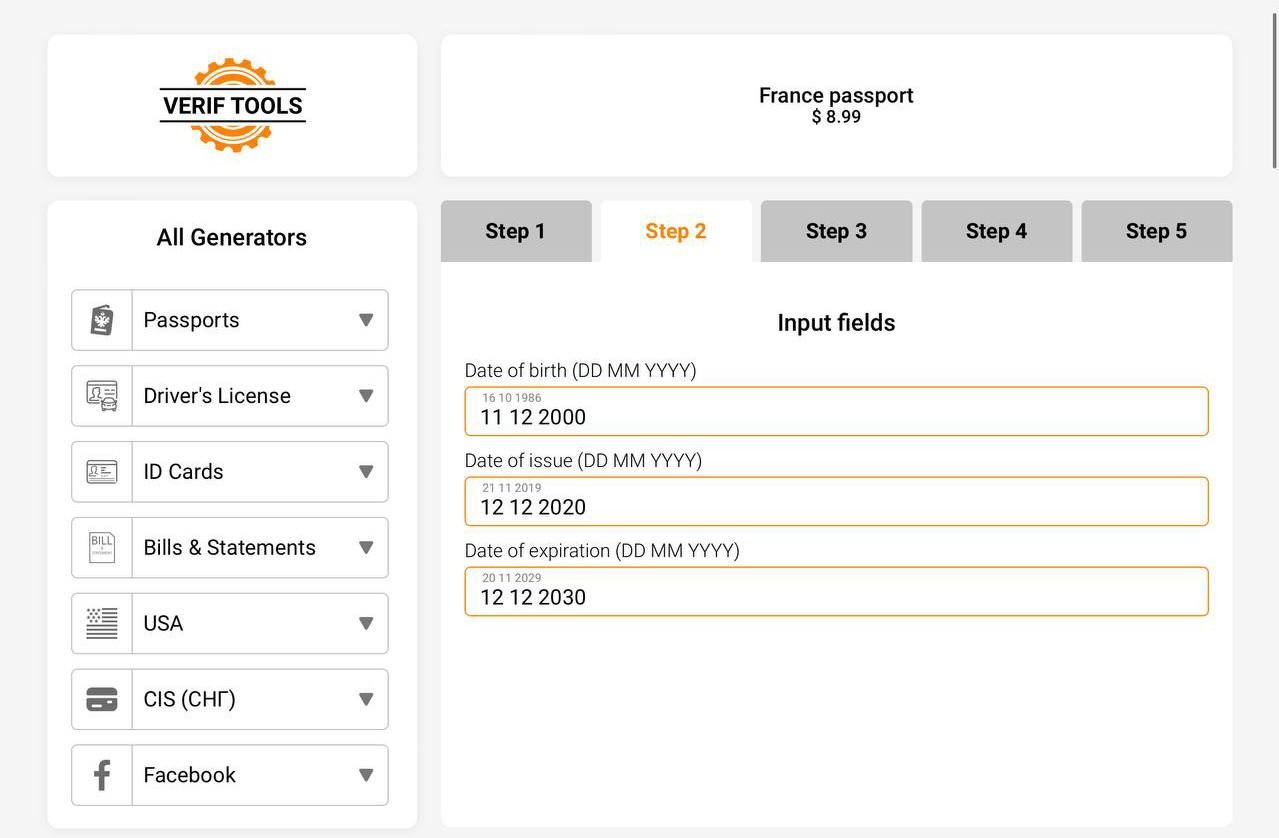
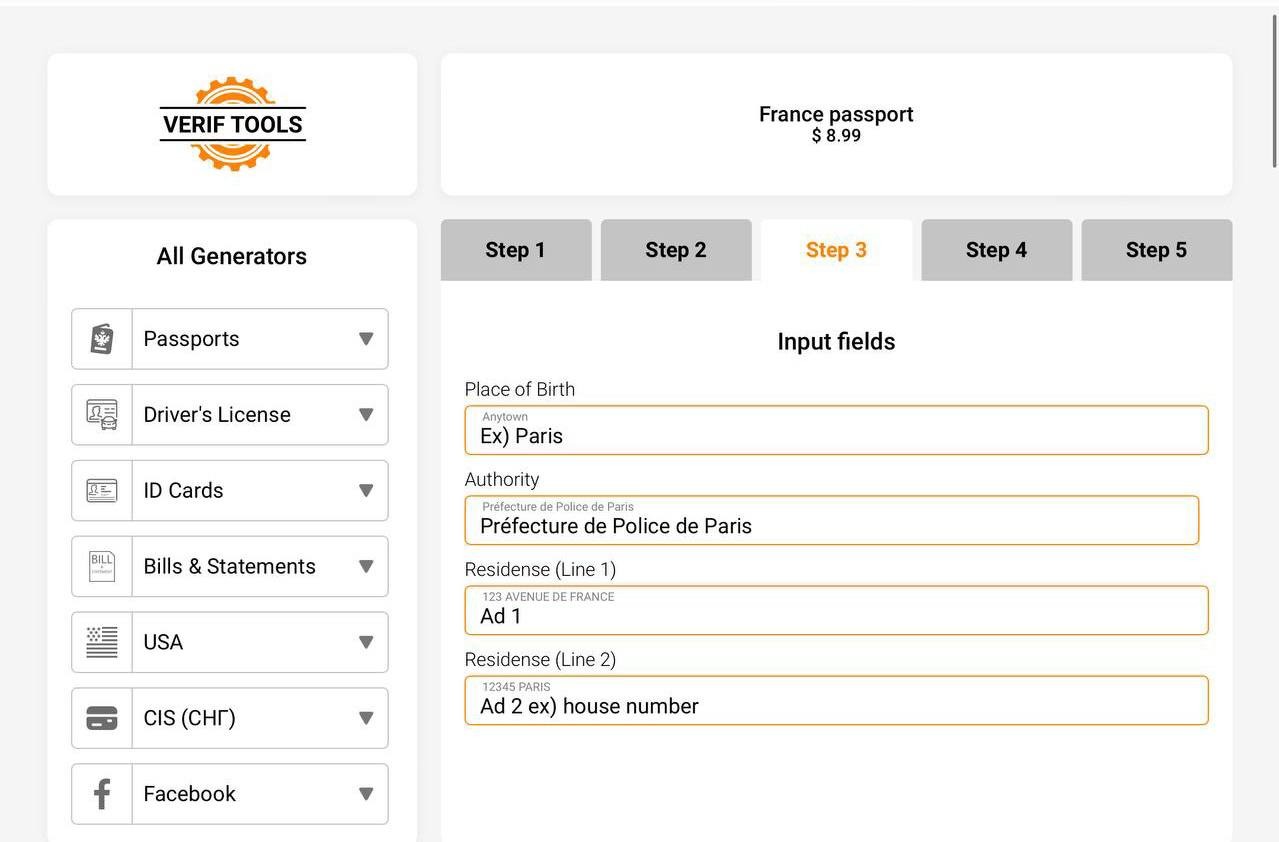
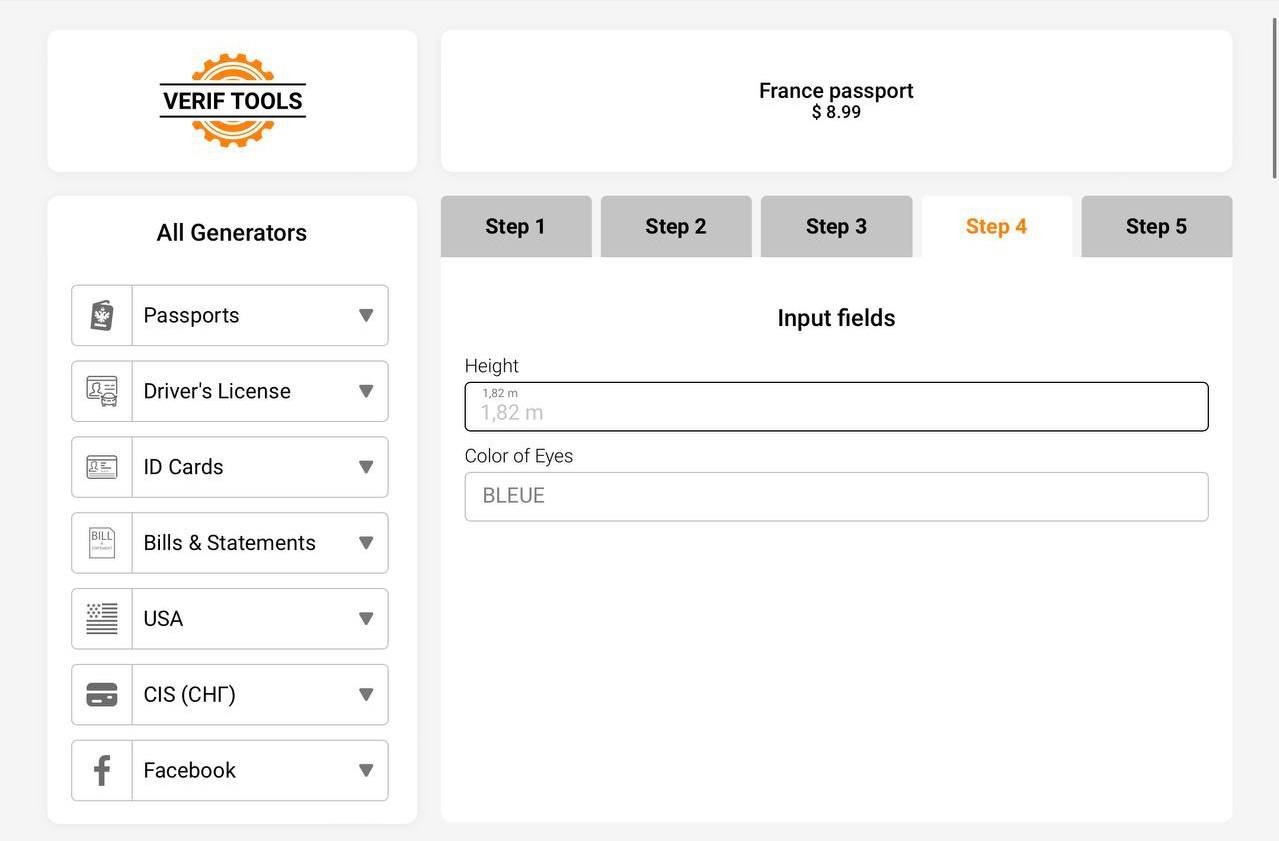

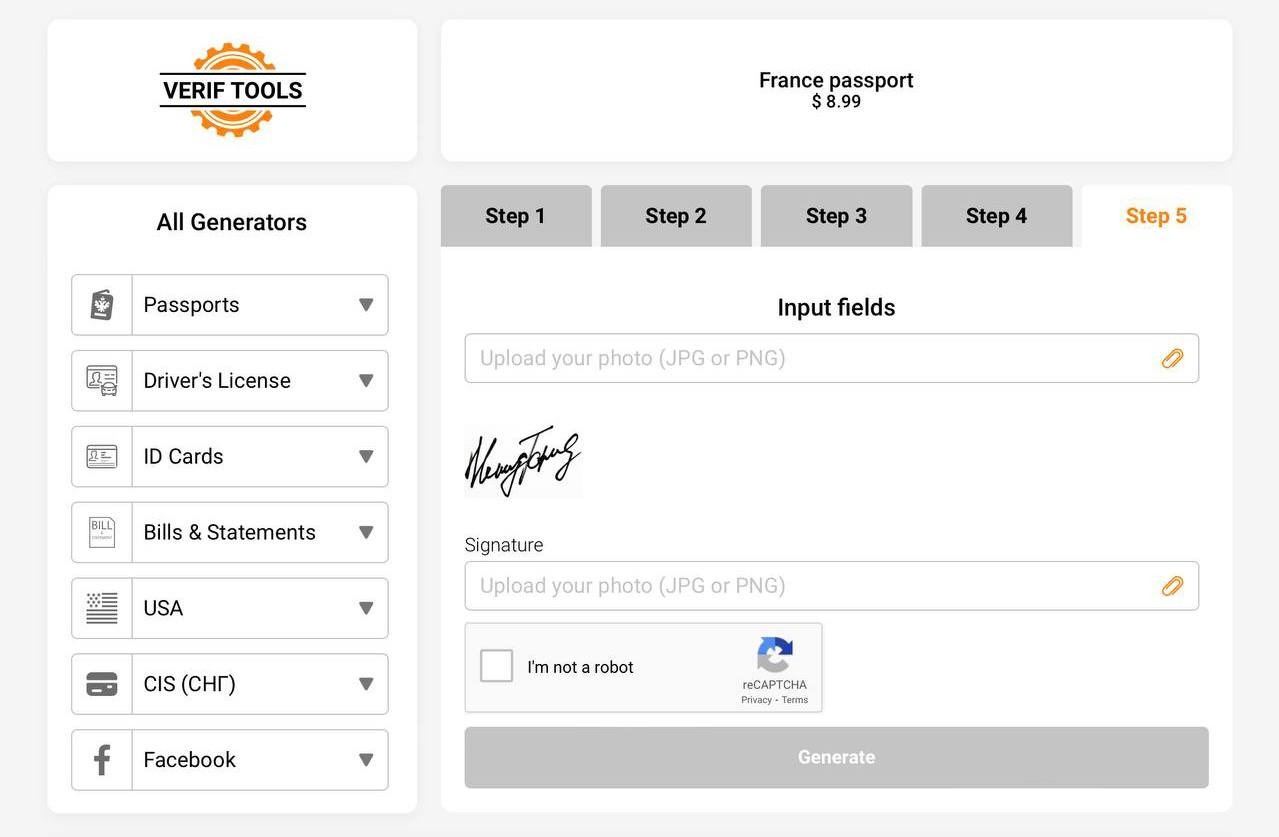
*Please refer to the screen in the picture to proceed with production.
* The input value of ‘Document Number (9 characters)’ in the picture is an example, so the person who wants to create it can think carefully before entering it and proceed with production.
* The validity period of the ‘France passport’ is usually 5 years or 10 years, and you can choose one of the two to make your passport.
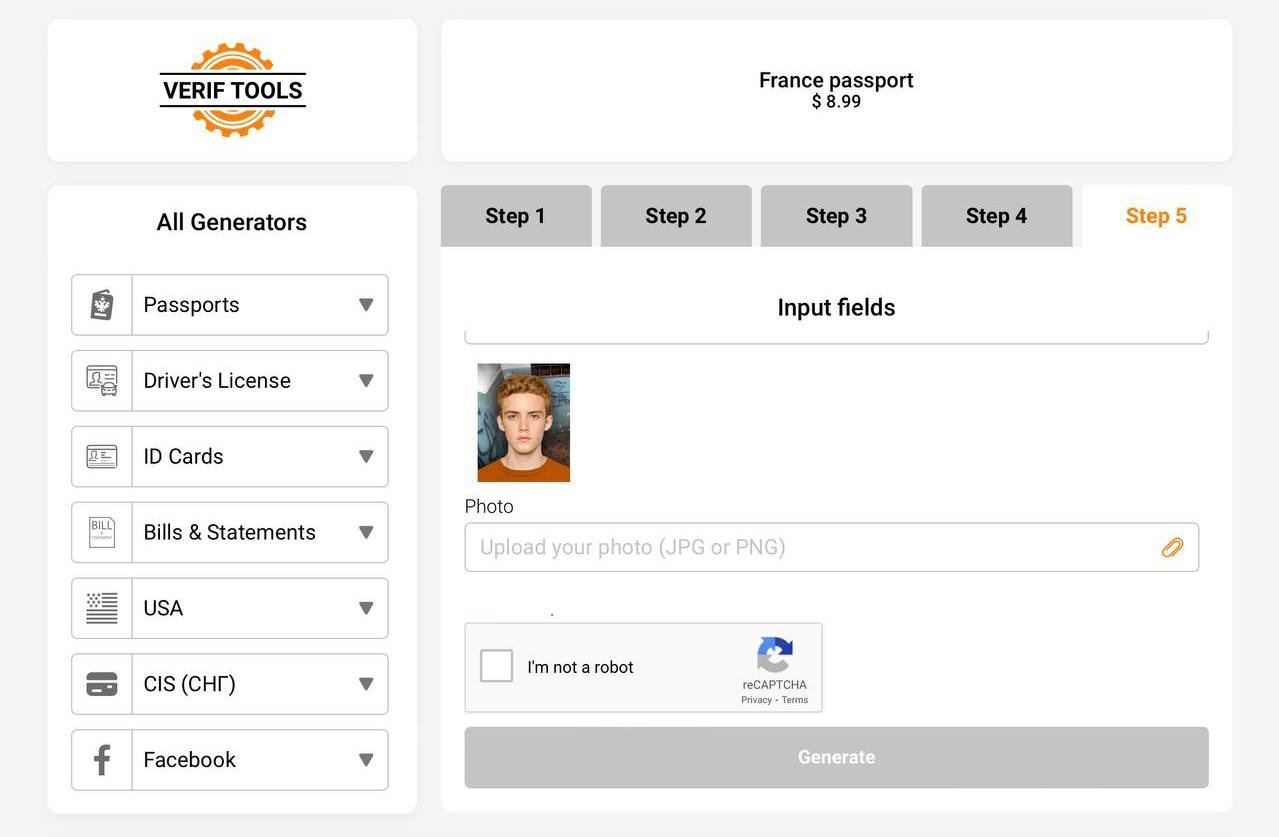
* For ‘Result image Type (Photo, Scan, Print)’, we recommend ‘Photo’ or ‘Print’.
(I selected Print and actually printed it.)
Search for ‘Revolut’ in ‘Google Play Store’ or ‘App Store’ and download it.
Or click the ’https://revolut.com/referral/seungmsqyi!DEC1-22-VR-FR‘ link to proceed with the easy download.
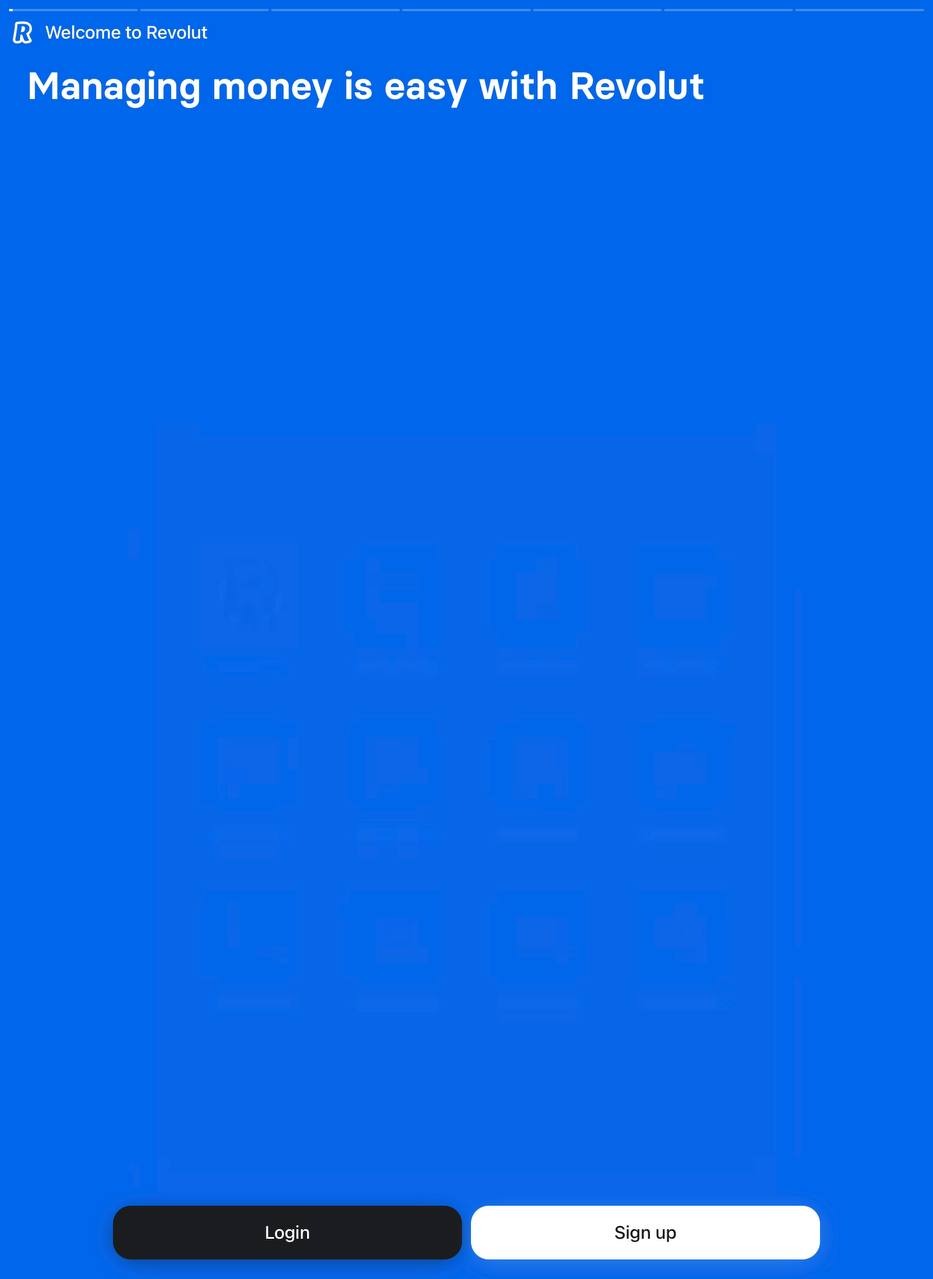
Access the ‘Revolut’ App and click ‘Sign up’ to proceed with ‘Sign up’.
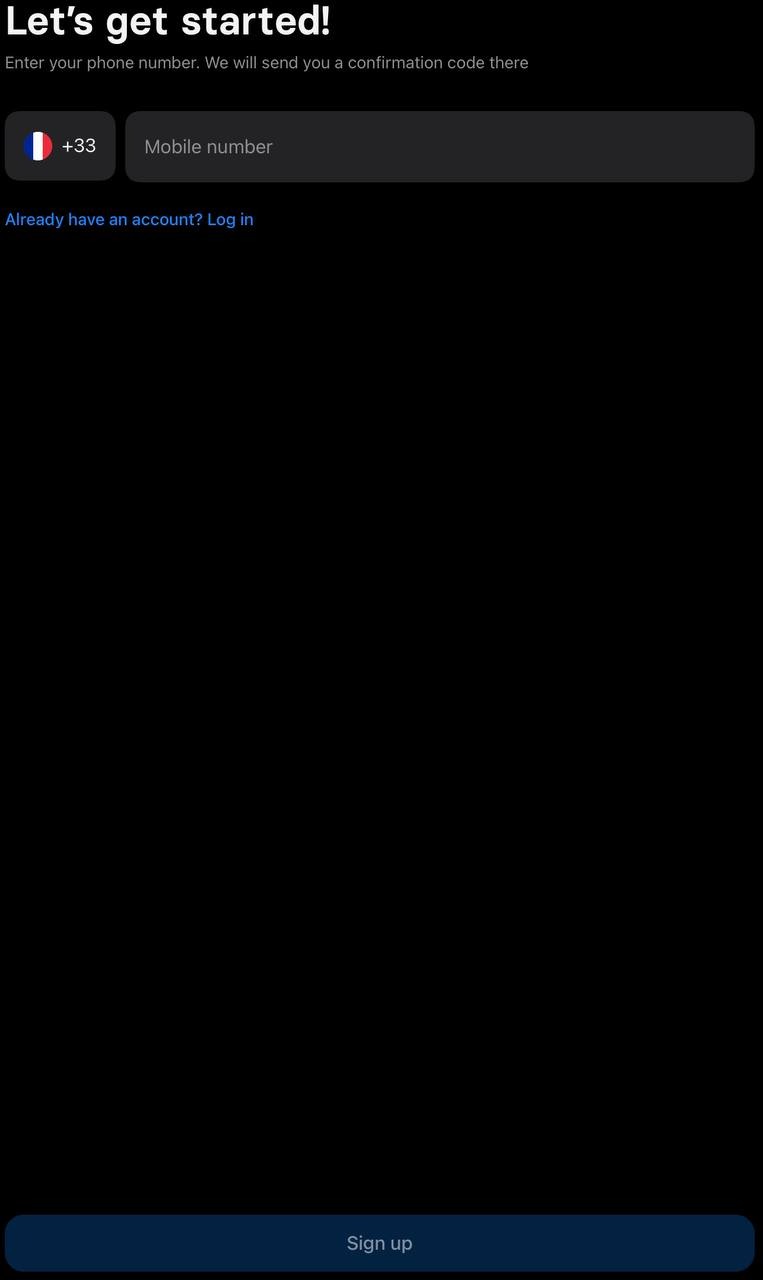
For ‘Mobile Number’, enter the number you want to use and receive authentication. However, you must enter the mobile number of the country code supported by Revolut.
When you sign up, you must use the same country address as your passport country.
(When ordering your card, you can rest assured that you can specify the country and address you would like your card delivered to.)
When the sign-up is complete, finally take a picture of Selfie, select the appropriate country and Passports from Verify Identity, and take a picture of Passports, which was produced and printed by Verif Tools, similar to the actual Passports.

Wait for about 10 minutes and if Verify Identity is normal, Revolut will send you a notification like the picture.
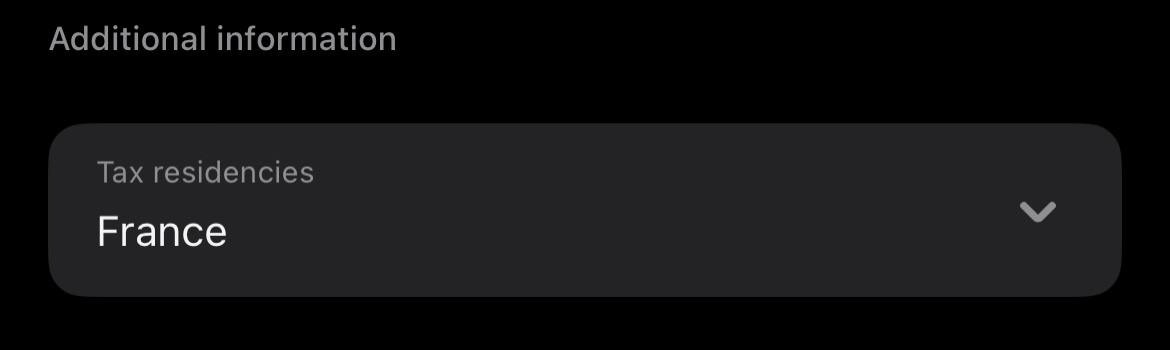
Unless the Revolut policy changes, entering ‘Tax residencies’ in Revolut is not required, so there is no problem using Revolut even if you do not enter it.
Thank you so much for reading this long article.
I hope my writing was helpful and I hope that you will succeed in signing up for Revolut like me.
Have a good day 🙂